

The final encounter of Destiny 2’s latest dungeon, Ghosts of the Deep, is certainly the toughest. There’s limited cover and a boss who will hover above you raining near unavoidable death from the sky. However, the rewards are cool weapons, interesting armor, and a chance at the exclusive exotic The Navigator. Here’s everything you need to know to take Simmumah down in Ghosts of the Deep.
How to Complete Ghosts of the Deep in Destiny 2 – Encounter 3

Where you enter the arena, you’ll see a rally banner that will allow you to stock up on ammo and ability energy, but before you do, make sure your loadout is set. As with Ecthar in the previous fight, Simmumah has a shield that must be depleted before damage can be done. Abalest can one-shot this shield, allowing for longer opportunities to deal real damage.
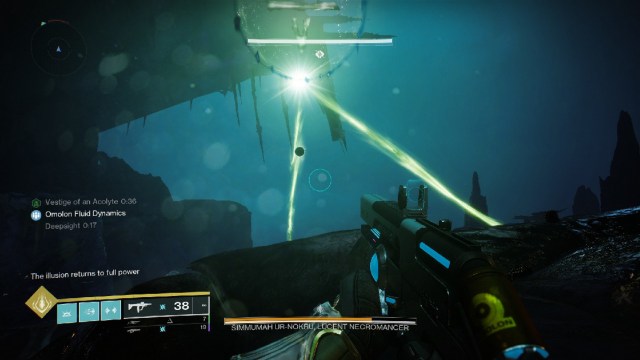
The boss in this encounter moves a lot and stays airborne for the entire fight. Linear Fusion Rifles can deal a lot of damage if you are able to consistently score critical hits on her, and Leviathan’s Breath can dish out massive damage if you have the exotic slot available. Otherwise, rocket launchers with Tracking Module will allow you to keep moving while sending out damage, just be aware that Simmumah can dodge to break the tracking lock.
Related: What to Do With the Broken Blade of Ambition in Destiny 2 – Answered
1) Kill Vorlog Three Times
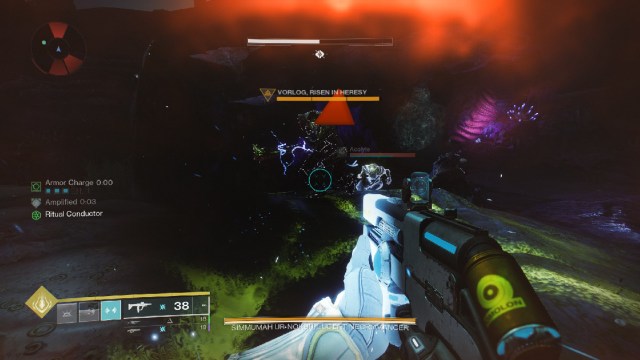
To get the encounter started, run up and use your finisher on the Ghost at Orxy’s heart. This will cause Simmumah to activate and several groups of enemies to spawn. Enemies will constantly spawn throughout the fight, so keep moving. The only enemies that can be killed for good are three knights. One on Oryx’s head, one by his left hand, and one by his right knee. Getting rid of these will make the room slightly more survivable.
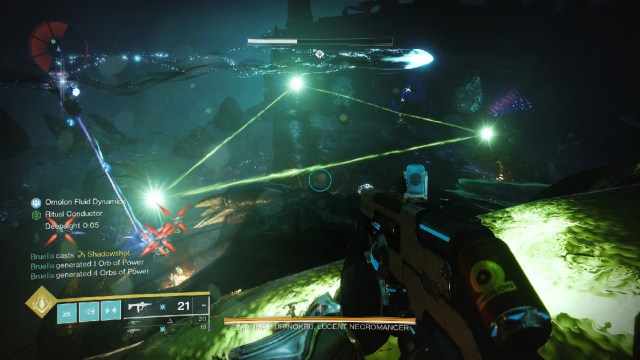
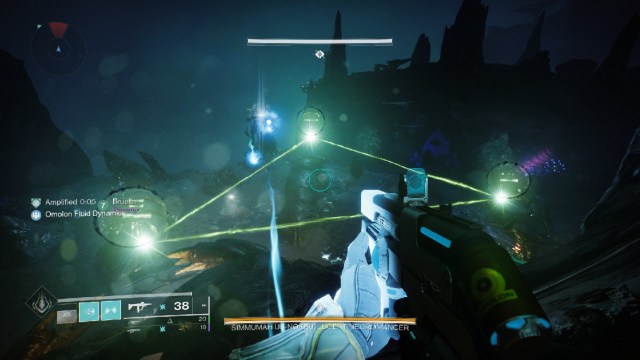
A Deepsight node will also appear when the encounter begins. It will either be in the middle of the area, below Oryx’s heart, or by one of his hands. Activating it will create a path of green light that forms a triangle above the arena. Each point of the triangle will indicate a part of Oryx, such as the Head, Heart, and Left Foot. The heart will always be a part of this pattern.
A special sword-wielding Hive Knight named Vorlog will be roaming around the map, and every time he dies, Simmumah will float over to resurrect him. In order to disrupt the ritual and make the boss vulnerable, you will need to stand at each of Oryx’s body parts and kill Vorlog. For example: Stand near Oryx’s heart and you will find a green zone on the ground illuminates. From here you can kill Vorlog no matter where he is, however, you must be in the green zone when you get the final hit. White text in the bottom left will say that “Vorlog is slain at the heart of Oryx, calling Simmumah to his death!”. Look around and you should see two green hive symbols floating near the location you killed Vorlog from. One is a ring, and the other is a taken symbol. This will let you know that you were successful.
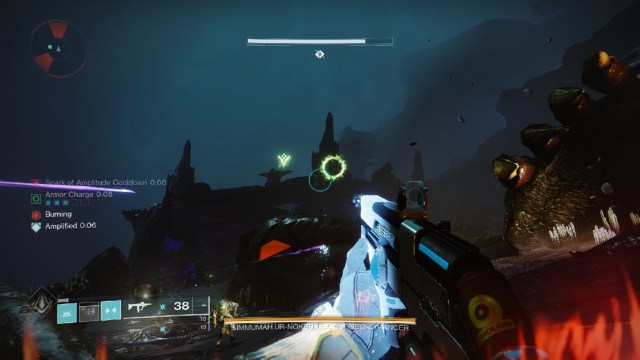
You now need to stand in the correct spot to line up the circle with the symbol. This can be awkward to find, so I tend to get close and move either further or backward until they line up correctly. This will cause the symbols to desapwn, and a large Hive rune to appear above the body part you activated.
Once this is done, Vorlog will be resurrected, and you will need to repeat the process for the remaining two body parts. Be aware that each time Vorlog is resurrected after lining up the symbol, Simmumah will summon a swarm of Lucent Moths that will fly toward the nearest player. These can suddenly kill someone at full health, so make sure you and your team shoot them down quickly.
Once the third and final symbol is visible, Vorlog will no longer spawn, and you can move on to the next phase of the encounter.
2) Kill the Lightbearers


If you are standing at Oryx’s feet and looking towards his head, to the left side of the arena there are two underwater caverns that lead to a room with a Lightbearer Knight. On either side of his head are caverns leading to a Lightbearer Acolyte, and to the right are two leading to a Lightbearer Wizard. Each of these Lightbearers needs to be defeated. For the sake of speed, you could split your fire team up, and clear one each, or leave someone behind to clear the main room of enemies whenever they spawn.
Head through the underwater caverns towards your chosen Lightbearer, but be careful as there are no bubbles in this area, so you will not be able to refresh your Pressure Resistance buff.

When you arrive at the cavern, immediately make note of the large hive rune in the center of the room. The one pictured above is the one that I call Vex. Defeat the Acolytes in the cavern, and kill the Lightbearer. Use your finisher on its Ghost and you will receive a buff similar to Vestige of Light, such as Vestige of a Knight. Functionally, it behaves the same and will kill you if it runs out, so get moving!
Make your way back to the center room where Šimmumah is. In order to deposit your buff you will need to have Deepsight active, so either activate the node yourself or have a teammate do it. The Deepsight buff only lasts 20 seconds though, so be ready to move quickly.
Once Deepsight is active, find the body part with the symbol that corresponds to the one you saw in the cavern earlier. Run over there and deposit your Vestige of Light. Once all three buffs are deposited, the damage phase will being.
Related: What to Do with the Broken Blade of Strife in Destiny 2 – Answered
3) Damage Simmumah
As soon as the third buff is deposited, a glowing well of green light will appear at each of the body parts, below where the symbols were floating. Standing in this will give you the Piercing Light buff, which will allow you to break the boss’s shield. The faster you do this, the more time you will have for damage, so hitting her with Arbalest will remove the shield immediately and give you the maximum amount of time.
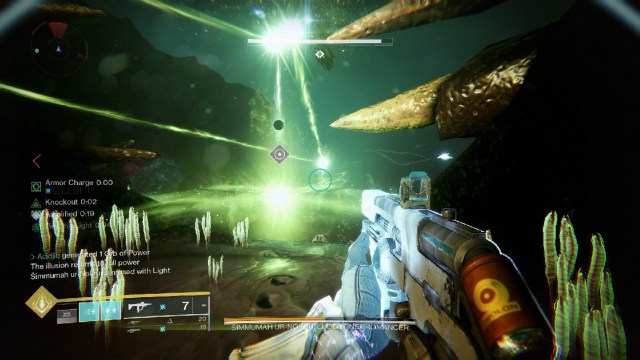
Simmumah usually starts the damage phase by using her super ability. This is when she is the most mobile and difficult to hit with precision abilities. Deal as much damage as you can until she settles down and stays in one location, then pour as much damage into her as you can. Be aware that the room will probably have some loose Thrall running around, so either keep mobile to avoid them or use quick abilities and grenades to clear them out.
Eventually, Simmumah’s shield will return, and Vorlog will be resurrected once more. From here, simply repeat the above steps until eventually, you burn down her sizable health bar. Just make sure you don’t forget to use your finisher on her Ghost, or you find yourself running the whole fight again.
Now you know how to defeat Simmumah ur-Nokru and clear the Ghosts of the Deep dungeon. Now keep running it until you get that elusive exotic, The Navigator. Good luck!
If you want to improve your chances of getting The Navigator, you can increase its drop rate by collecting all 12 Memories of Darkness within Ghosts of the Dungeon. Use our guide to track them all down.