In Project Zomboid, many ways exist to extend your short, miserable life. One of the more permanent solutions is to secure your homestead by boarding up windows and doors to limit potential access points for the undead horde that will inevitably descend upon you. However, this isn’t an easy process, especially when hauling heavy equipment across an undead wasteland, so let’s find out how to board up windows and doors in Project Zomboid.
How to board up windows and doors in Project Zomboid
The first problem you’ll need to tackle is the supplies you’ll need. You will need a hammer, two nails, and a plank at a bare minimum. This will give you everything you need to apply a single plank to one entry point; however, you will need four planks and eight nails to lock down a window or doorway.
Related: How to Get Sheets in Project Zomboid Build 41
The best way to locate these construction tools is to search for sheds and garages with shelving racks. These are common across properties within Project Zomboid and shouldn’t be too difficult to find. If you’re lucky, you may come across a large wooden crate containing a bounty of supplies useful for your defensive efforts.

The trickiest part of the equation is the planks. These can be hard to find and are heavy, limiting the ability to transport them. You have three options for a surefire supply of planks: hike or drive to the large lumber mill at the center of the map. Here, you can find plenty of crates containing planks. The only difficulty will be transporting all of them to the place where you need them.
The other two options both require an axe. With this in hand, you can break doors and furniture to find planks and nails from nearby buildings to fortify your chosen home, or you can cut down trees and create your lumber operation; however, this will require a further item, a handsaw to convert the logs into the ever valuable planks.

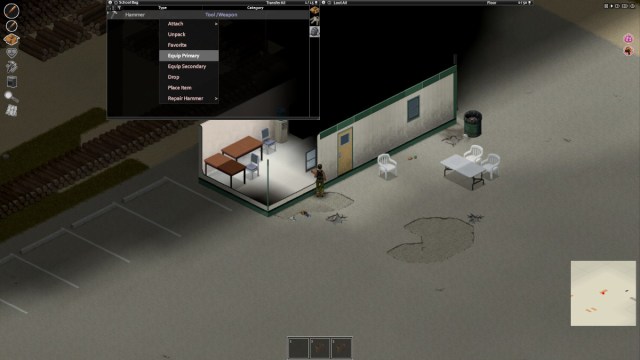
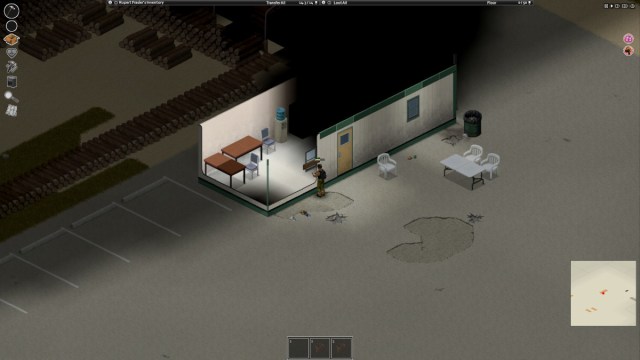
With your nails, hammer, and planks in hand, it’s time to barricade a window. Start by right-clicking on the window you want to secure and select the barricade option. Note that you must have your hammer equipped in your primary slot to see the interaction on the list.
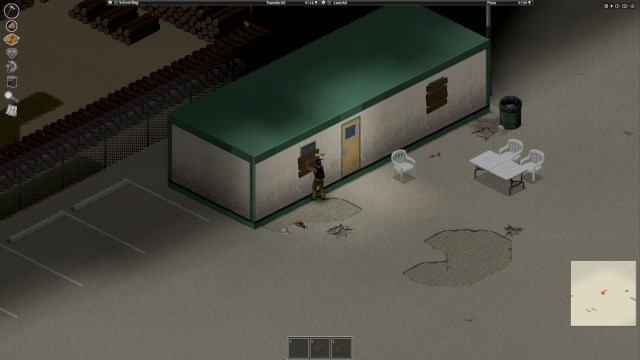
Once you choose the craft barricade option, your character will automatically unpack and provide anything they need to begin construction; they will head to the window and hammer into place the plank, giving you a nice piece of fortification on an otherwise vulnerable access point. Each window and door can be barricaded up to four times for maximum protection.

If you’re desperate to create a haven from which to operate and don’t have the time to hunt down the required tools, you can use sheets to block off windows and prevent zombies from spotting you through the glass, reducing the attention you draw. However, if time and resources are not a problem, you can invest in metalworking and upgrade your barricades with metal sheets to create a much more hardy fortress. It is important to note that barricades can be applied to both sides of windows to offer an even stronger layer of protection.
Now that you know how to barricade your windows in Project Zomboid, why not find out when the upcoming build 42 will be released?


Published: Aug 30, 2023 02:53 am