

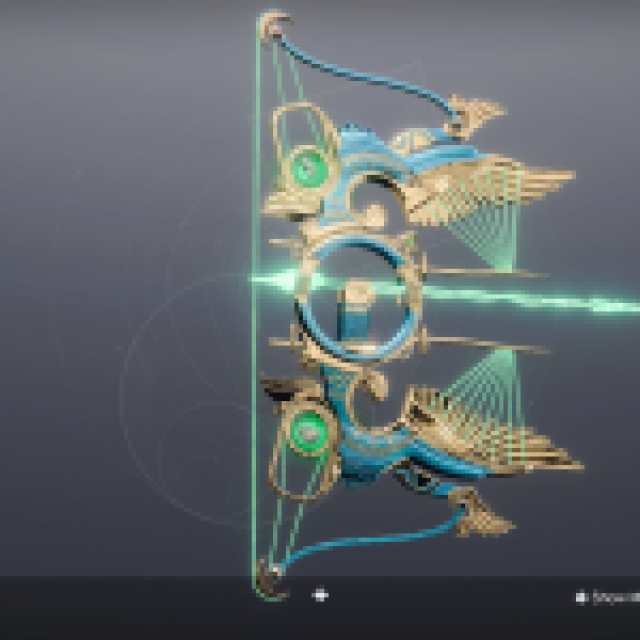
Starcrossed is this season’s exotic mission, and at its end Guardian’s can grab the Strand Exotic Wish-Keeper Bow. It’s a long ride, so let’s dive into how to complete Starcrossed in Destiny 2.
How to Unlock Starcrossed in Destiny 2
Starcrossed won’t be immediately available for all players. Instead, you’ll have to complete Week 3’s story mission, Apophasis, which can be accessed in the H.E.L.M. To unlock Apophasis, you’ll need to complete all the story missions you haven’t yet.
With that done, speak to Crow and he’ll unlock Starcrossed on the H.E.L.M. map, beside The Coil seasonal activity.
How to Complete Starcrossed in Destiny 2
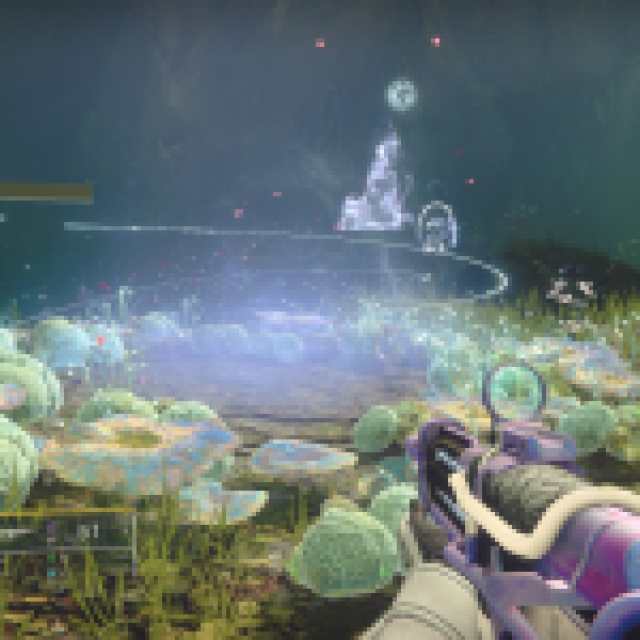
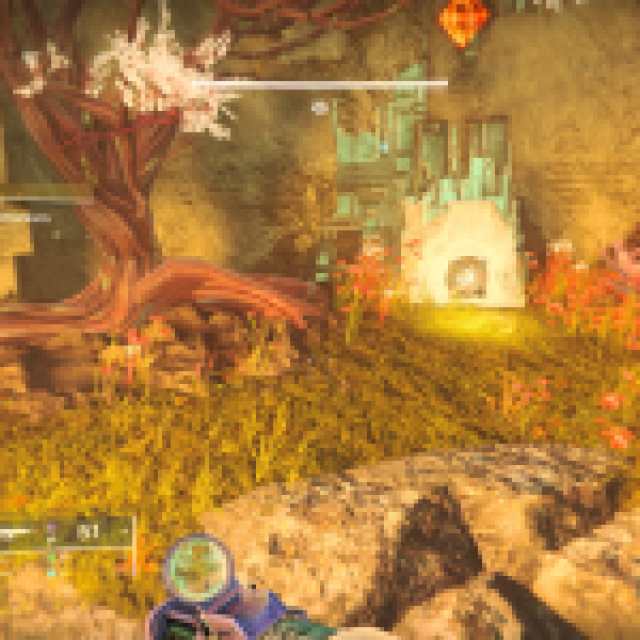
Starcrossed sends us back to the Black Garden, where we must find Riven’s egg before the Vex.
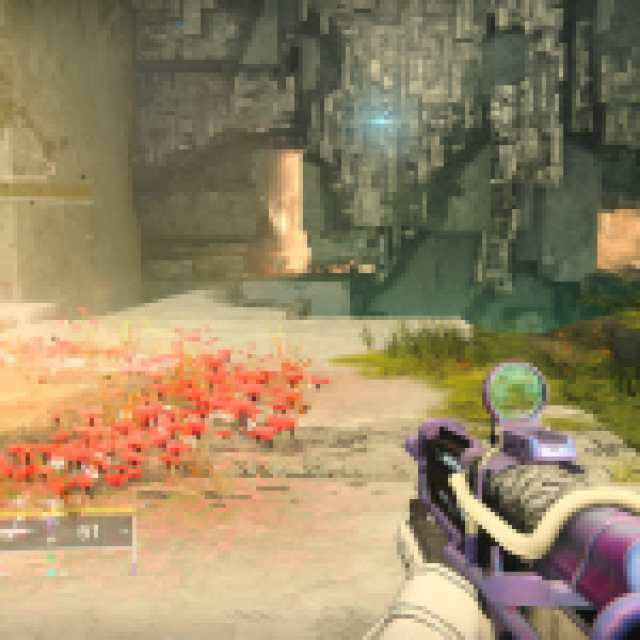
Traverse the Black Garden
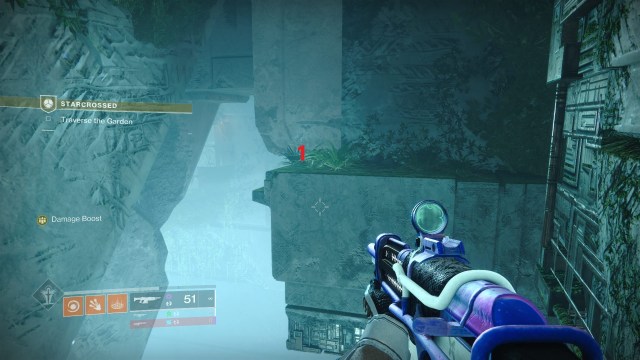
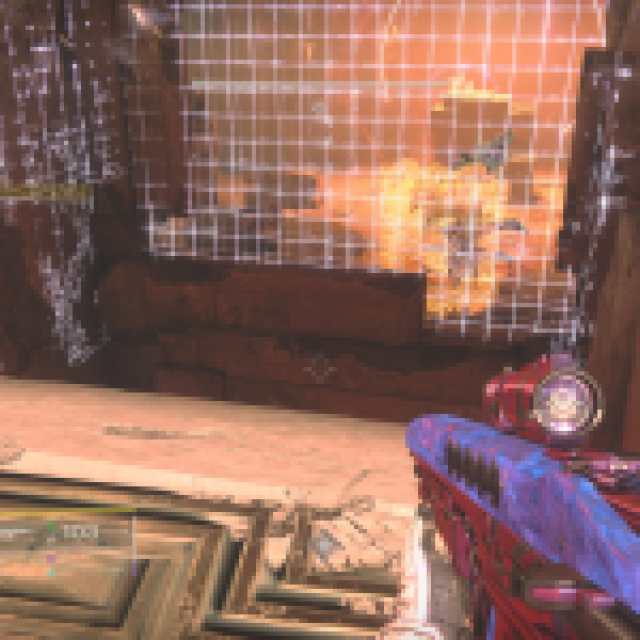
Once we spawn into the Black Garden, we’ll need to get across it.
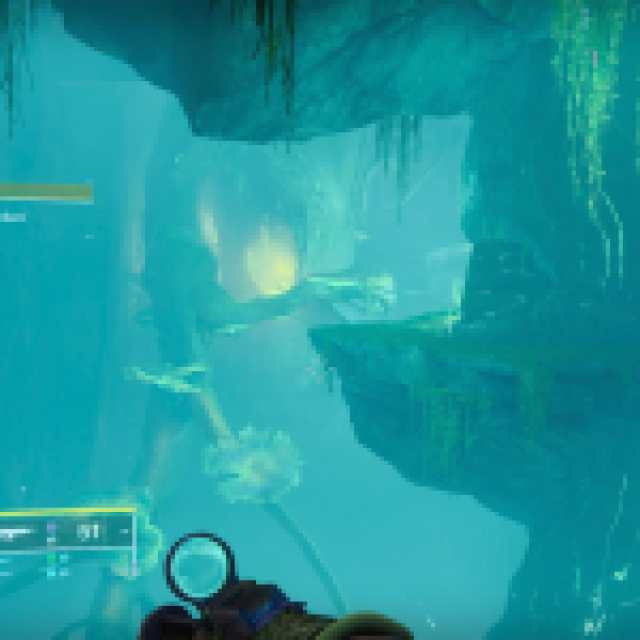

Turn left and follow the green path along the edge of the wall until you reach its end.

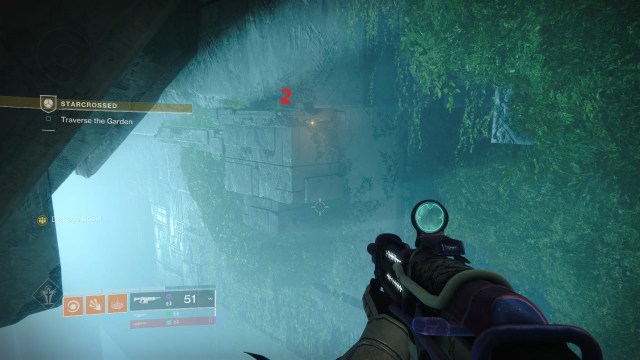
Once you reach the end of this path, you’ll see that there are a few leaf platforms you can jump up to reach the yellow-lit area. When you reach the yellow-lit area, turn right. Follow the path behind it.

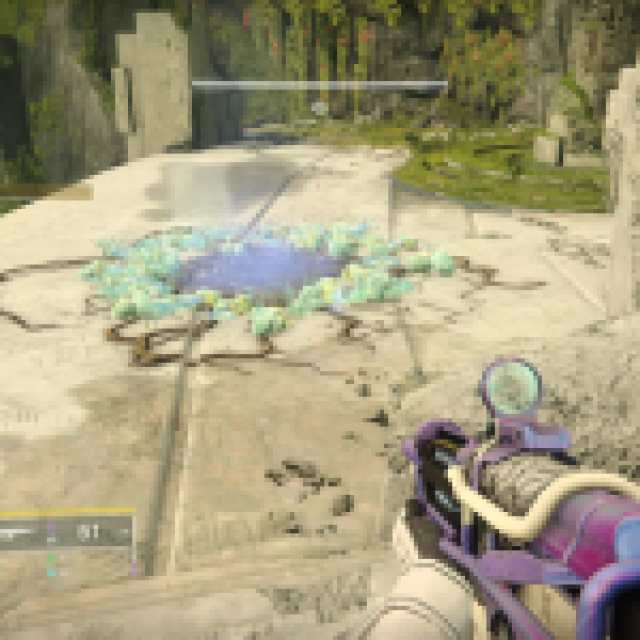
As you make the turn, you’ll see another chasm with a bud. Shoot the bud to make it bloom and create a platform. These platforms are on a timer, so don’t just stand on them.

But note, as you reach the end of this section, you’ll be attacked by Vex. As always, resistance is how we know we’re going in the right direction.
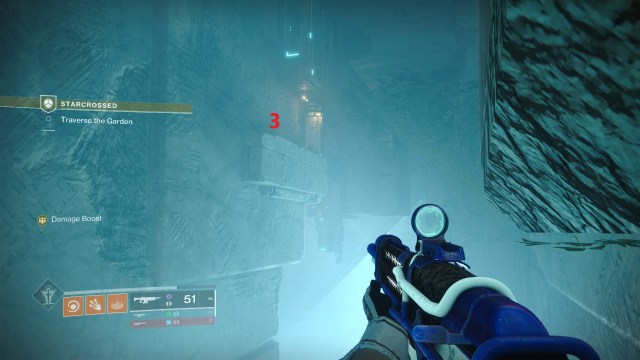
Once you’ve fought your way through the Vex hoards, which include Goblins and two Minotaurs, you’ll find yourself outside.


Approach the Structure
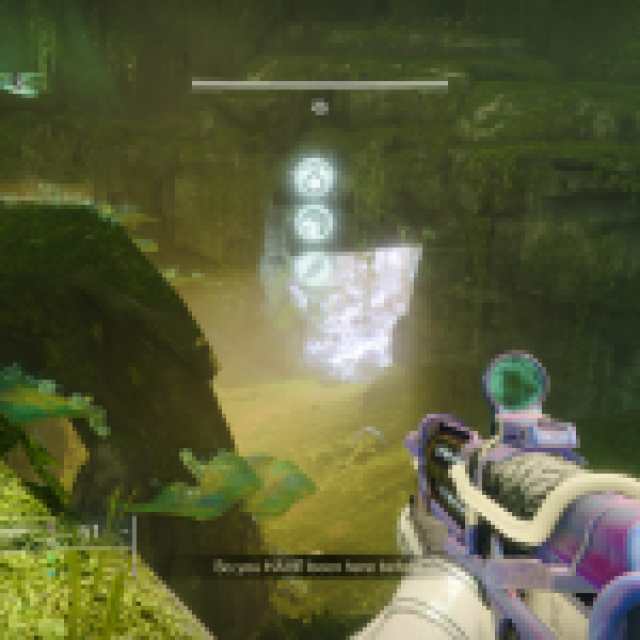
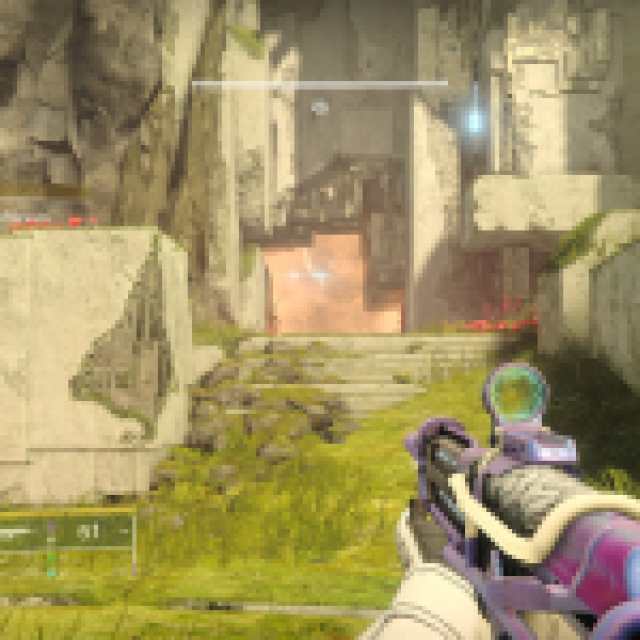
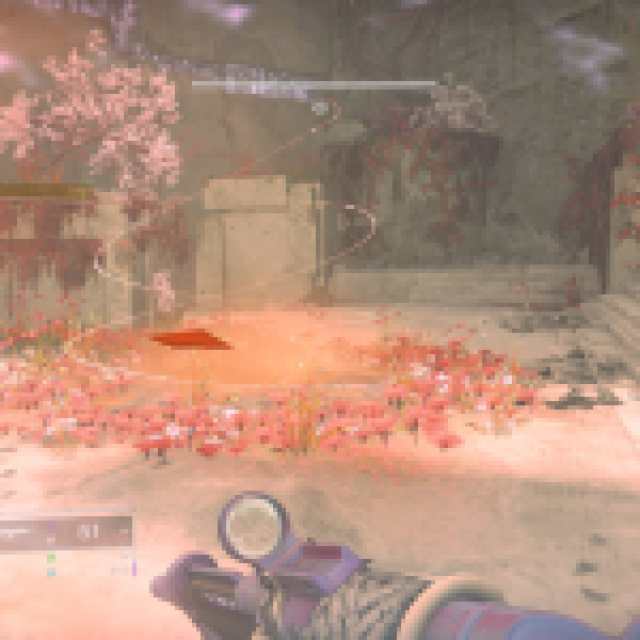
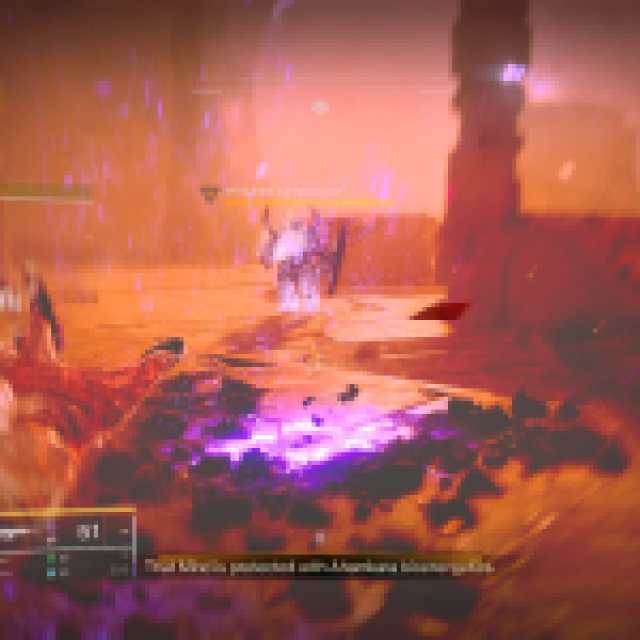
Jump down and follow the path towards the beam of blue light in the distance. Expect Taken enemies.
Continue down the path until you reach the end. There, you’ll find a door blocked by a barrier and a yellow-bar boss who’s immune to all damage. Step into the fairy ring-like portal and you’ll gain the buff Sire’s Obligation.

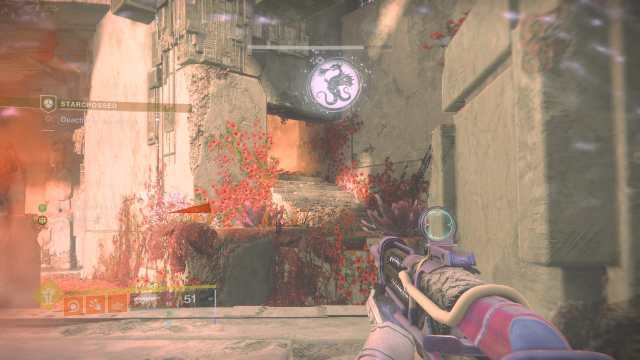
With this buff, two things will happen. First, you’ll see a projection of an emblem near the misty door. The second is that you can now damage the yellow-bar enemy. Defeat this miniboss and the misty door will fall. Go through it, and you’ll enter a new area.
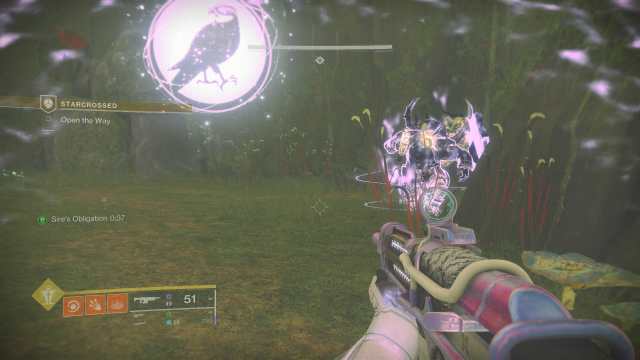
Open the Way
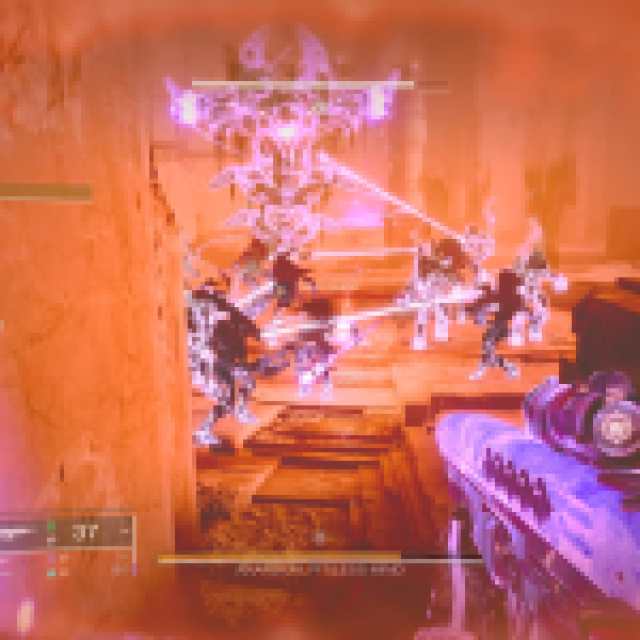
So, here’s how this section works. In the middle of this arena is a mist door. It’s locked by three seals, which are stacked in a vertical line. The three seals can be broken by killing each of the three yellow-bar bosses in this arena in the correct order.

You’ll need to kill the boss associated with the top lock first, then the middle, then finally the last. To see these locks, you’ll also need to have the Sire’s Obligation buff. You’ll also need this buff to do damage to the bosses.
- The Hawk boss is on the right.
- The Twin Snakes boss is on the left.
- The Fish boss is in the center.

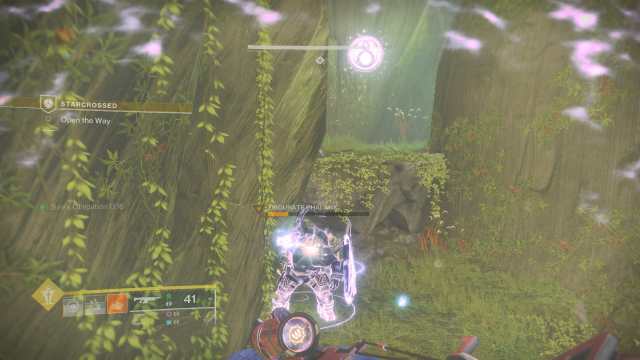
You’ll need to kill each of these bosses within the duration of the Sire’s Obligation buff. However, you can refresh this buff at any point. So, there’s no need to stress it. If you feel like the buff is about to run out, refresh it at the fairy ring, then continue doing damage. The boss will keep its damage for as long as you have the Sire’s Obligation buff active.
Once you’ve defeated the first boss, Vex will spawn. Two Cyclops will spawn on the map, several hobgoblins, and a new fairy ring at the top of the map. Clear out the Cyclops before taking up the Sire’s Obligation buff and killing the next boss.
If the Sire’s Obligation buff runs out between boss killings, that’s okay. Your progress is maintained.
There’s no need to rush this section. Clear out the mobs if the snipers are doing too much damage. Whittle the boss as necessary. Always prioritize killing the Cyclops first.
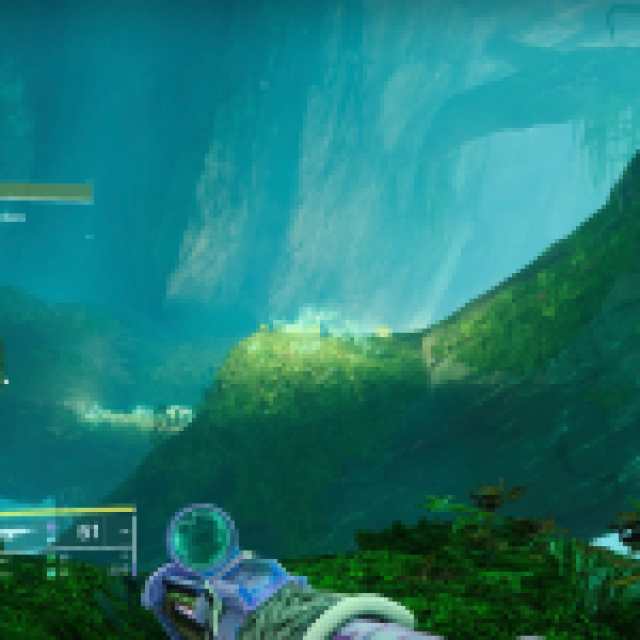
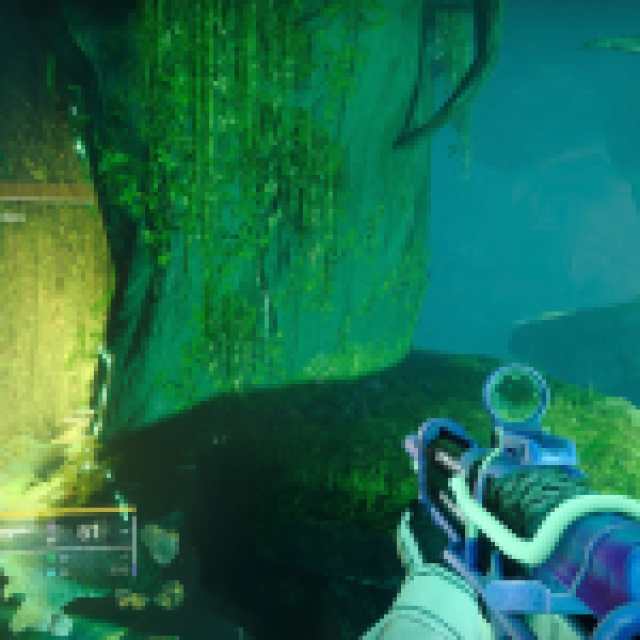
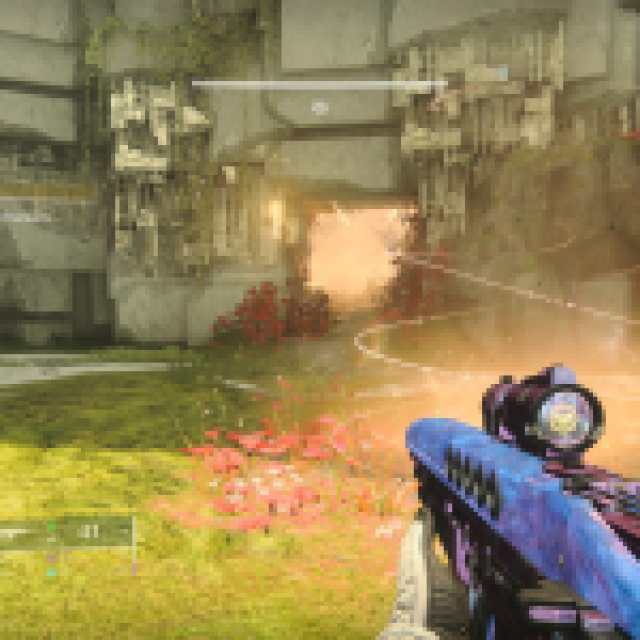
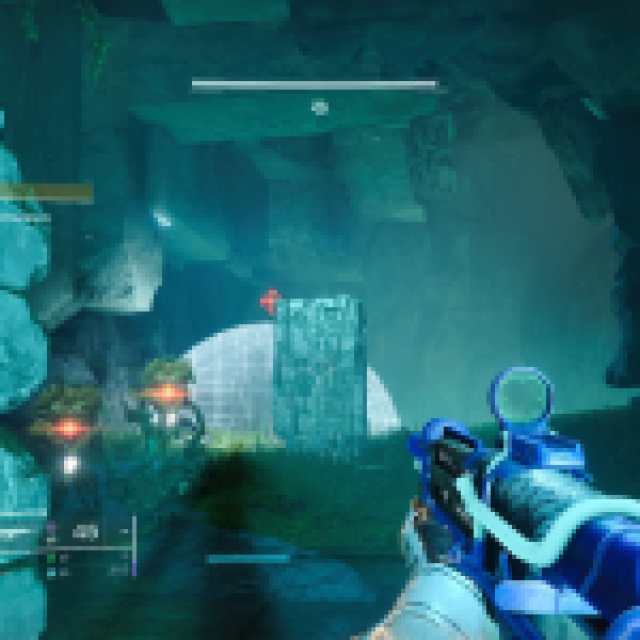
Traverse the Garden
With the mist door gone, head straight and down, towards the yellow-lit cavern. Once you’re inside, you’ll see a red fairy ring and two doors. Step into the fairy ring and it will give you Dam’s Gift, which will allow you to traverse through the smoke in the corridors.

The corridor you choose doesn’t matter, they lead to the same place. Press through, and be patient, as you’ll have some sliding mechanics in this narrow section which can you off. You have plenty of time and the way is straight.
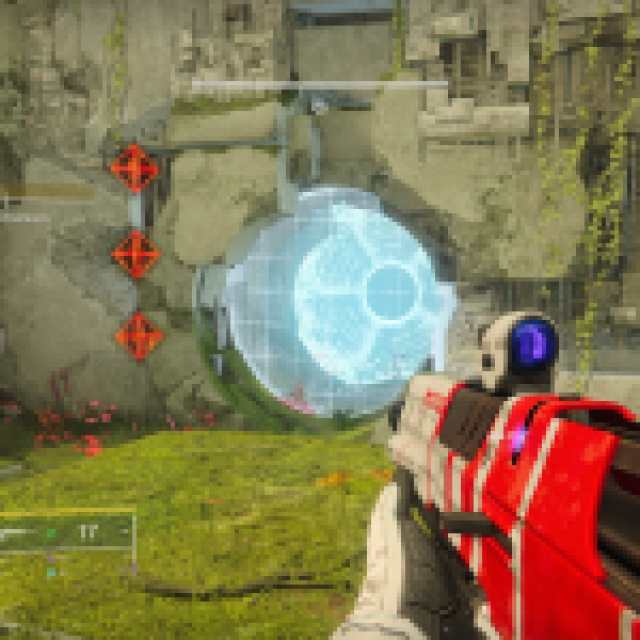
Access the Transit Mechanism
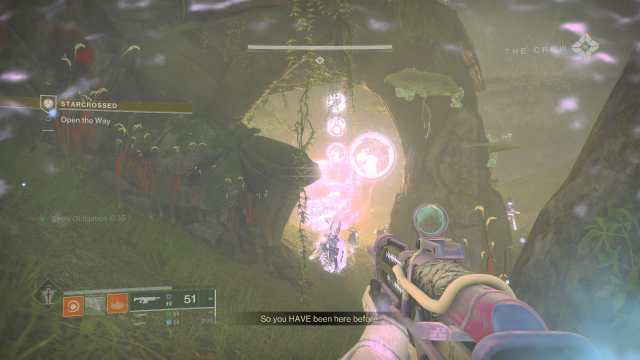
This next section will bring us to the Roost. It’s a Restricted Zone, and our goal is to access this portal, which is blocked by three diamonds.

So, that last section was just a taste of what to expect. Continue through until you reach the red fairy ring. Take it, and head through the section to the right. This will give us the most efficient pathing.

You’ll encounter a Hobgoblin on a column, a Wyvern, and several other Vex. Clear the room, but leave if you need to refresh your buff. Our goal is to kill the Gatekeeper Wyvern, which will then allow you to access the next section through the locked portal in this room.

Don’t forget to interact with the mechanism in this room!

Once that’s done, walk through. You won’t need Dam’s Gift for this next section, but you should expect Vex resistance. There will be one Quantum Minotaur and a Hobgoblin sniping from the cliff.
Continue down the path and you’ll reach a cavern that will contain a Vex dome, Vex, and another Gatekeeper Wyvern. Kill the Wyvern to drop the dome, then interact with the mechanism.

That’s two down.
To pass through the red mist, trace back your steps down the path before this cavern and step in the red fairy ring. Then make your way back to the center room.

Grab the Dram’s Gift and go through the red path at the end. Expect a Wyvern Gatekeeper, and of course, a red diamond mechanism. Defeat the Wyvern Gatekeeper then interact with the red diamond mechanism. This room is actually clear of mist, so there’s no need to refresh Dam’s Gift.
Once you’ve cleared this Wyvern and activated the last mechanism, all the red mist will dissipate. You can now return to the central hub.
Eliminate the Vex
It’s time for a fight, though it’s nothing you’ll sweat over.
There will be quite a few Goblins, but more importantly, a Malignant Wyvern miniboss and a large Minotaur boss.

Both Wyvern and boss stay close to the same place, so you can take it slow and whittle them down as you please. Once they’re dead, head through the portal.
Enter the Transit Mechanism
Now, all you have to do is jump through the portal. Remember, there’s a drop in front of it. Once you’re inside, you’ll be back in the caverns. And we’ll be faced with our first true platforming section.
Traverse the Garden
So, this platforming section is a little tricky at its front end, and then straightforward through the rest.
Here are the first three jumps, in slideshow form. The first three jumps are easy, though be mindful of any moving platforms.
It’s jumps 4, 5, and 6 that’s most challenging.
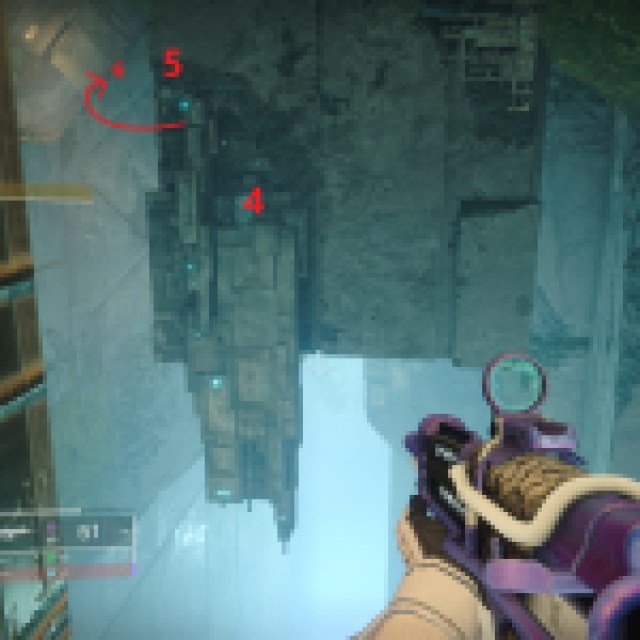

Here, you’ll need to land on this platform. It is very narrow. Once you land on top of it, turn towards the platform to the left and jump up on it. Somehow, this is even more narrow. You’ll then want to jump around the pillar and land on a platform against the wall. This is literally a leap of faith, so it may take a few tries.
Otherwise, the section is fairly straightforward. I’ll include my pathway in a slideshow for ease of navigation.


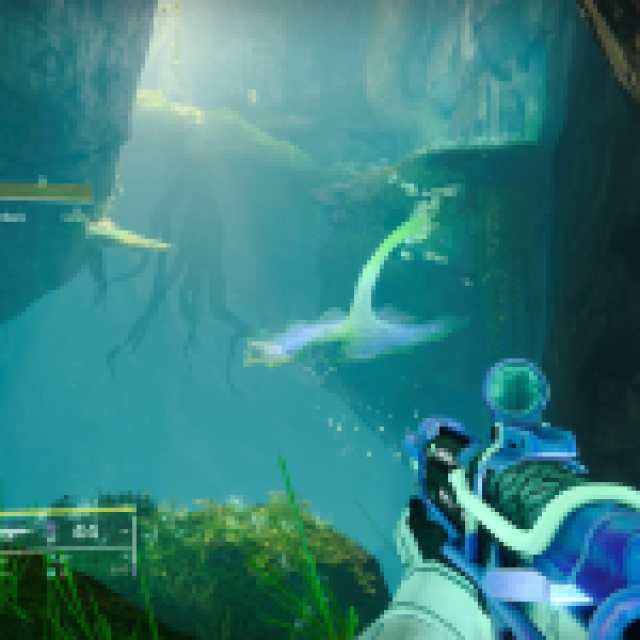
Once you’re through the platforming section, you’ll be out in open air with the Vex. Fight them and continue following the dirt path.
You’ll reach an open chasm. Turn left, then follow the grassy path along the cliff into a new cave.


Make your way to the end, where you’ll find Taken Vex. Kill them, but be aware – once you move forward into the open area, you’ll start the next encounter.
Deactivate the Barrier
So, this next section is a combination of all the mechanics we’ve had so far.
To the left of the arena is a mist door which has three locks stacked vertically. These locks are associated with the boss phalanx in three different sections of the arena.


You can see the locks associated with each boss when you have the Sire Obligation buff. The Sire Obligation buff is to the left, on the flat white section of the arena, near the Fish hall

However, to get two of these bosses, you’ll need to pass through the red mist. The red fairy buff is in the center of the arena, and it will give you Dam’s Gift. But this fight introduces a new buff.

Dragon’s Crown is the buff you’ll get when you have both Dam’s Gift and Sire’s Obligation active. To do this, just step on Dam’s Gift and then step on Sire’s Obligation. Dragon’s Crown will last for 45 seconds and it can be refreshed by stepping on either buff. It will allow you to damage the yellow-boss enemies and traverse the red mist.
So, you should endeavor to refresh this buff whenever possible, as it will make things much easier. Once you’re set up, tackle the bosses in order of whatever lock is on top of the door.
- The Fish boss is on the left, through the red mist hall.
- The Hawk boss is in the center.
- The Dragon boss is on the right.
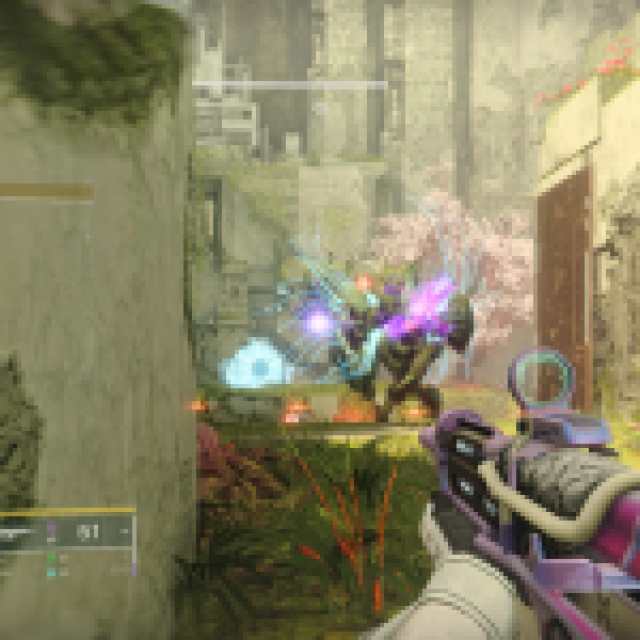
Once you’ve defeated two bosses, a Servant Wizard will appear in the center. Kill it and the final boss and the barrier to the last encounter will fall.


Defeat All Hostiles
Now that we’ve unlocked the door, we can take on the final boss of this exotic mission. Head straight across from the Sire’s Obligation fairy ring and put down a rally banner if you like. Then descend.

There will be two fairy rings at the bottom, with both Sire’s Obligation and Dam’s Gift. Combine them to get Dragon’s Crown, but it’s better not to return to this little alcove, as the boss has a direct line of sight to you here. Instead, refresh it with the fairy rings on the other edge of the arena.
This Vex mind boss is best defeated by killing the two Phalanx minibosses on either side of the arena. Once they’re killed, the Vex mind boss will completely lose its shields. You then have free rein to lay into it with as much damage as you like.

There are two potential knots. First, Goblins may spawn, which will make the boss immune. This is very annoying if you’re in the middle of using your Super.

The second knot is that periodically you’ll be trapped in a Vex dome. Try to kill the flying enemies that trap you before they ensnare you. Otherwise, it’s a straightforward fight.


Once the Vex mind is dead, you can walk out of the other end of the arena to find yourself in a lush garden next to some massive bones and a chest. You’ll get Wish-Keeper, the Strand Exotic Bow, for your trouble. Each week, you’ll be able to complete this mission and get another Wish-Keeper, along with a new potential perk to craft it with.

Congrats!
For more tips and tricks, check out our guide on All Starcat locations in Destiny 2.