Sometimes, it’s fun to indulge in a little cosplay. Especially if it means up’ing your stealth and maybe getting your hands on the coveted Lightning Helmet. And what better way to do that than gathering all the Yiga Armor pieces? Here’s how to get the Yiga Clan Armor Set in Tears of the Kingdom.
Tears of the Kingdom: How to Get the Yiga Clan Armor Set in TotK
There are three pieces of armor for the Yiga Armor Set, which are scattered across the far corners of Hyrule. These locations remain unmarked on your map… but thankfully, there’s a Yiga Clan map that showcases precisely where each piece is.
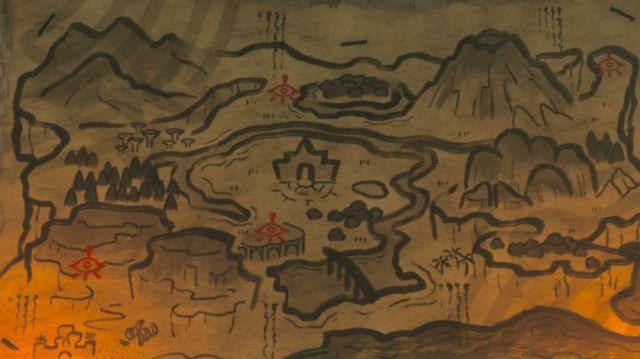
And while that gives us a vague idea, let’s get into the specifics. We’ll be tackling the armor set in the following order:
- Yiga Armor
- Yiga Tights
- Yiga Mask
How to Get the Yiga Chest Piece in Tears of the Kingdom
The first piece of armor we’ll knock out is the chest piece, which will require us to plunge into hell itself. Or at least the Depths.
The fastest way to get to this chest piece is to get to the East Akkala Plains on the far right of the map, above the Zora Domain, and jump into the Chasm. Using the nearby Ulri Mountain Skyview Tower will get you there in no time at all.

But be wary about dropping into the gaping maw. There’s an Obsidian Frox below, which can be outpaced… but be careful if it uses its inhale attack. It’s extremely difficult to avoid without cover.
Once you’re in a safe place, head north until you hit the lake in the far top right corner of the map. You’ll have quite a few Lightroots along the way, which will significantly help your progress. Once you hit the lake’s shores, turn right and ascend the mountain, continuously working your way north. Once you get to Kawisar Lightroot, turn back towards the lake and you should see a massive pillar of a building. This is a Lighthouse, and it connects the Depths to the overworld. Its exact coordinates are 4513, 3158, 0247.
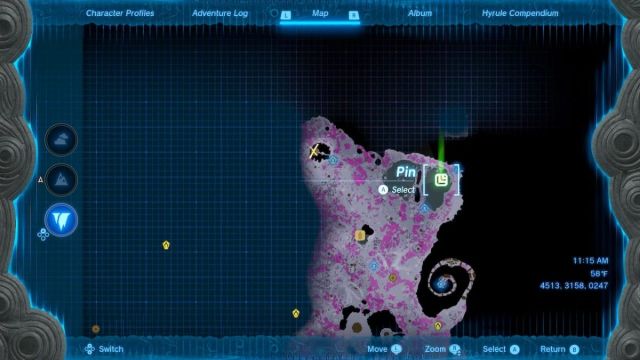
Glide over to it, then ascend… and you’ll be in the Yiga Clan’s base itself. That’s… awkward.

How to Defeat Yiga Clan Members in Tears of the Kingdom
The Yiga clan will escort you outside, and you’ll be forced to fight them. The wide-open area makes this the easiest of the set of fights you’ll have with these clan members.
I find that taking out the teleporting scrawny guy is the best strategy. The best way to handle this is to wait for him to teleport, then chase down the trail of talismans, which telegraph where he’ll appear next. Once he appears, use short range melee weapons to decimate his health.
The larger Yiga Clan member is best dealt with at a distance, as his short-range attacks can be pretty lethal if you’re early in the game. But if he starts to use his special attack, which will track you as you run, take this time to close in and attack him directly instead. He’s locked into his animation and can’t move.
Once the Yiga Clan members are defeated, head inside to speak to the tailor. For your rescue efforts, you’ll get the Yiga Armor.
RELATED: Tears of the Kingdom – How to Get the Zora Armor Set in TOTK
How to Get the Yiga Tights in Tears of the Kingdom
To get the tights, you’ll need to go to Aldor Foothills, almost directly North from Lookout Landing and Hyrule Castle over the river. The precise coordinatesare -0663, 2107, 0164.
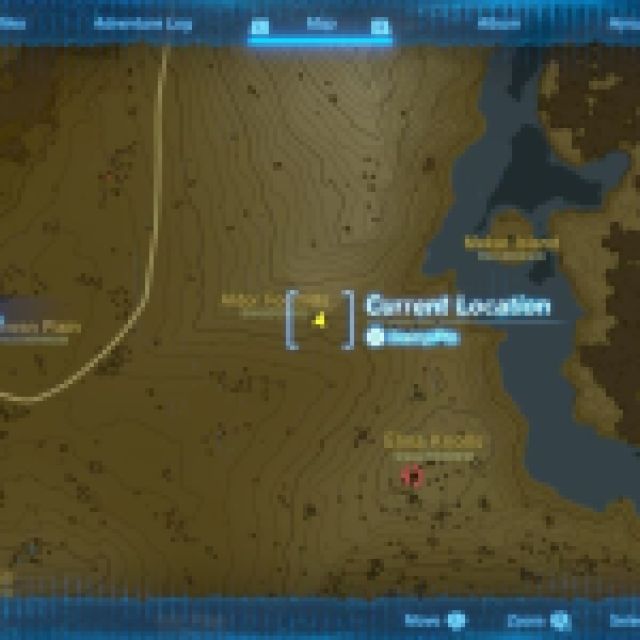


Once there, you’ll see a scattering of small statues which all bear the Yiga Clan eye emblems. That’s how you know you’re in the right place. Search out the small cave and get ready for a fight. Inside, you’ll find two Yiga Clan guards who should be pretty familiar.
Once these two goons are taken care of, you’ll find that there’s a square in the same chamber you fought in on the floor.
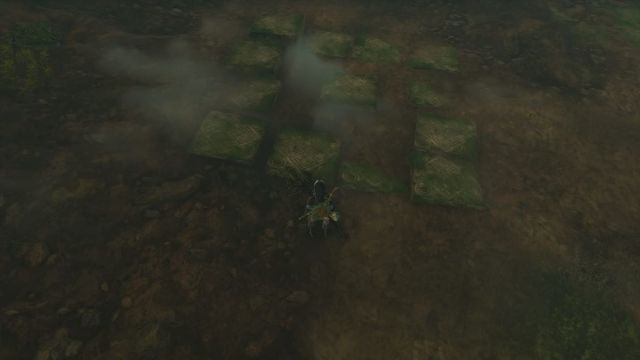
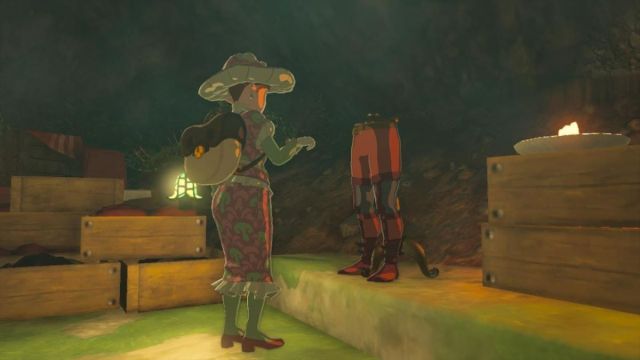
Stand in the center and look up, then ascend. You’ll find Aliza, the tailor who’s in charge of making the tights. Release her, and you’ll get the Yiga Tights for your trouble.
How to Get the Yiga Mask in Tears of the Kingdom
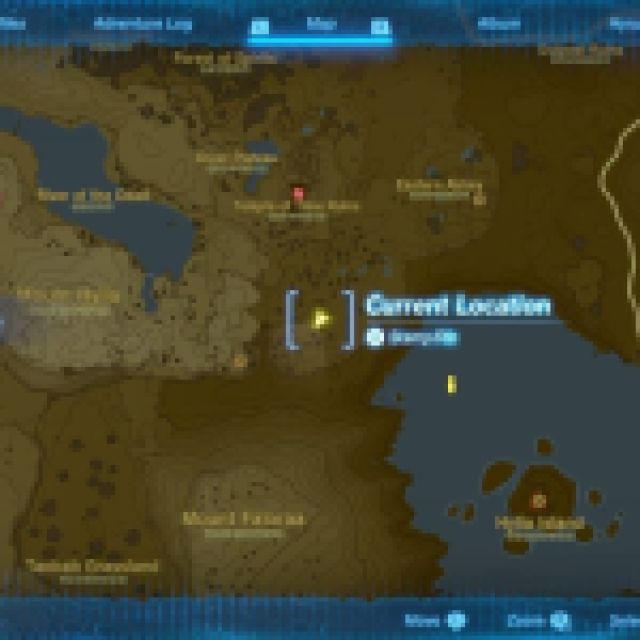
For the final piece of our villainous ensemble, we’ll need to go to the unmarked Yiga camp just to the right of Mount Hylia, and a little northeast of Lake Hylia. Its precise coordinates are –0771, -2234, 0092. You might be tempted to use the Skyview Towers to the left and right, but unless you have the Glide Armor or a lot of stamina, I recommend you use the Hyrule Field Skyview Tower.


Once there, you’ll find that there’s a pretty fortified camp in the shadow of Mount Hylia. To get past the spikes without climbing the nearby mountain is to use the small hill near the back of the camp to glide over. Once you’re in the yard, get ready for the last fight. There’s even a cooking pot in the front if you need to slap together some elixirs or dishes.
When you’re all set, knock on the door and you’ll be confronted by the exact two Yiga Clan Members as before. This fight is a little harder because it’s so close quarters, so rush down the smaller Yiga Clan Member as quickly as possible. Once he’s gone, climb on the roof and just potshot the big guy until he’s dead. I find that bomb arrows are particularly effective.
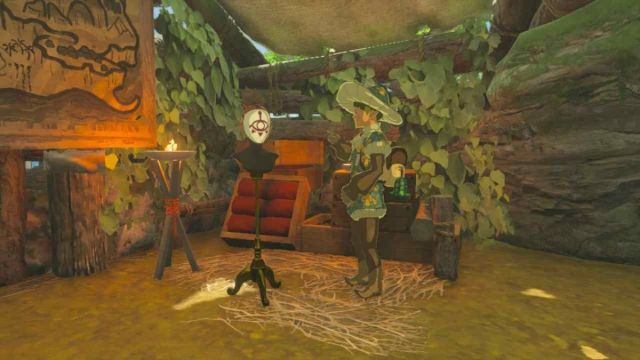
When you’ve tucked them gently into the dirt, head inside to claim the final piece of the outfit – the Yiga Mask! Now you’re super stealthy and super sketchy.
If you’re well on your way to collecting all the armor pieces in Hyrule, here’s a quick and easy guide for finding every piece of armor in the game: All Armor and Locations in Tears of the Kingdom (TotK).


Published: May 22, 2023 06:18 pm