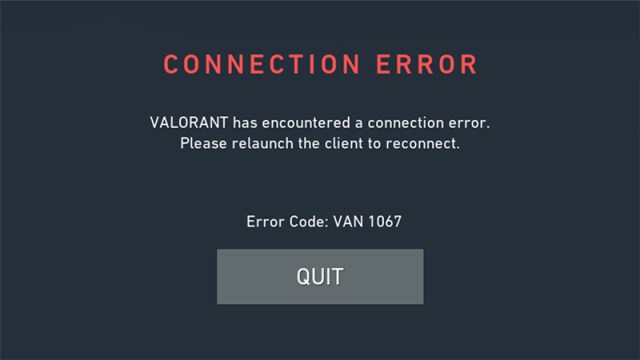
Windows 11 has been live since October 2021 and more PC users are receiving it as a natural update from Windows 10 as time passes. However, the transition has created problems for some Valorant players. Here’s how to fix the Valorant VAN 1067 error code.
Can You Fix Van 1067 Error Code in Valorant?
Related: Can you Play Valorant on Mac?
At first, a player might think that the entire problem lies in the server, which may be down or overcrowded. However, that is not the case. It is actually due to an internal inconsistency caused by the Trusted Platform Module 2.0 (TPM).

Luckily, this is an easy fix. Players who get the error message have their TPM 2.0 turned off by default, and once you enable it, it will fix the problem.
However, there are a few things you must do first before playing Valorant on your Windows 11 PC.
Enable TPM 2.0
First things first. You need to enter your BIOS settings. To do this, press the F2 or Del keys while your PC turns on. Depending on the brand:
- Dell: F2 or F12.
- HP: ESC or F10.
- Acer: F2 or Delete.
- ASUS: F2 or Delete.
- Lenovo: F1 or F2.
- MSI: Delete.
- Toshiba: F2.
- Samsung: F2.
- Surface: Press and hold the volume up button.
Now, find the Advanced Mode and then look for the Security or Miscellaneous menu.
Next, look for the Intel Platform Trust Technology (IPTT) or AMD CPU fTPM option, depending on which CPU your PC uses. Once you enable either of the options, you need to enable Secure Boot on your PC.
To do so, look for Windows OS Configurations or Boot Options. It is within the same menu as TPM.
Enable Security Boot
Once you find it, look for the Secure Boot option and change to UEFI mode in your BIOS.
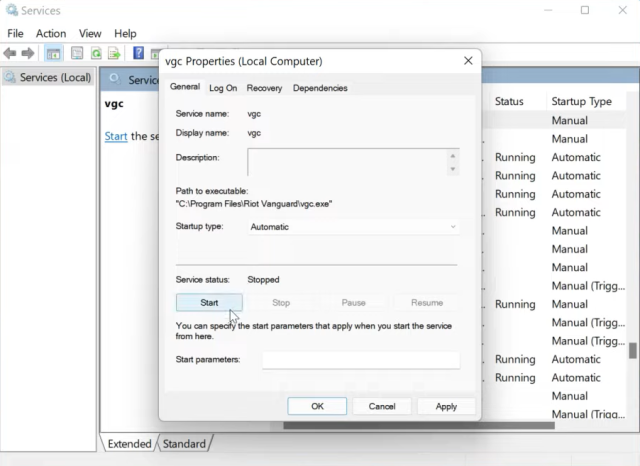
Enable ‘VGC’

Restart your PC and wait for it to boot. Now, before launching Valorant, press the Windows key and then R. A text box will pop up in which you should type Services.msc.
Now, look for the service under the name ‘vgc’. Right-click the service, and from the menu, select start.
This should have fixed the problem on Windows 11.


Published: Jun 13, 2022 07:02 pm