After the release of Update 2.0 and Phantom Liberty DLC for Cyberpunk 2077, many players face the issue of the game crashing at startup. This guide will go through all the fixes you can try to eliminate the crashing issue.
Fix Cyberpunk 2077 Crashing on Startup
You can try several fixes to get your game working, and we recommend you go through all of these in order to get your game running again.
Perform a Clean Install of Your GPU Drivers
Sometimes, the issue can be resolved by performing a clean install of the graphic card drivers. The driver files might get corrupted after updating every time, so you should perform a clean install of the new and updated drivers. Follow these steps to perform a clean install:


- Search for Display Driver Uninstaller (DDU) on Google or open this link here.
- On the page, click on Read More under the latest version.
- On the next page, scroll down below and click on Click here for DOWNLOAD & SUPPORT.
- Once on the next page, click on Download DDU “Portable / self-extracting” to download the application.
- After doing that, install DDU and run it. Make sure to disconnect your internet before you proceed any further. You should do this whole process running your system in Safe mode.
- When the program is opened, click on the Select device type dropdown menu and choose GPU.
- Under that, you will get another dropdown menu to select your GPU brand.
- After that, click on Clean and Restart to uninstall the current version of graphics drivers and restart the system.
- Now, follow the above steps again and clean the drivers for the second time if you did not do the first clean in Safe mode.
- Download the latest version of your graphics card drivers and install them.
Performing a clean install will fix the crashup issues at startup. If you are still facing the same issue, download an older version of the drivers after performing a clean install.
Verify Game Files After Deleting Certain Game Files

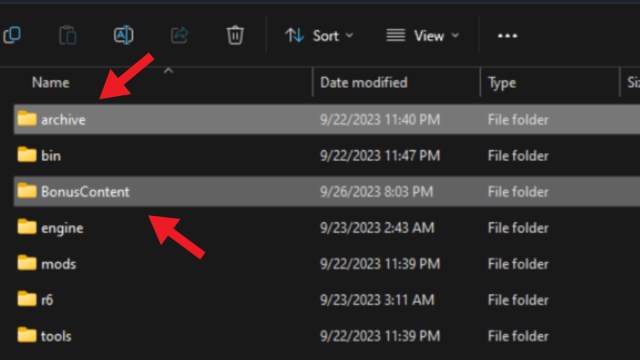
If the above fix did not work for you, you have to take a shot at performing this fix to get rid of the crashes. Open the Cyberpunk 2077 game folder and delete every file except “BonusContent” and “archive”.
After that, verify the game files from Steam or GOG. To do that, follow these steps:
For Steam
- Open the game library and right-click on Cyberpunk 2077.
- Click on Properties.
- Open the Installed Files tab and look for the Verify integrity of game files option. Click on it for Steam to download a fresh version of the files.
For GOG Launcher
- Select the game from the game library.
- Click on the More button and then Manage.
- Now click on Verify/Repair.
Run the Game in Windows 7 Compatibility Mode


This might not be a popular fix among the others, but it does get the work done for some users. Follow these steps to apply this fix:
- Open the Cyberpunk 2077 game folder and navigate to bin\x64.
- Look for the Cyberpunk2077.exe file and right-click on it.
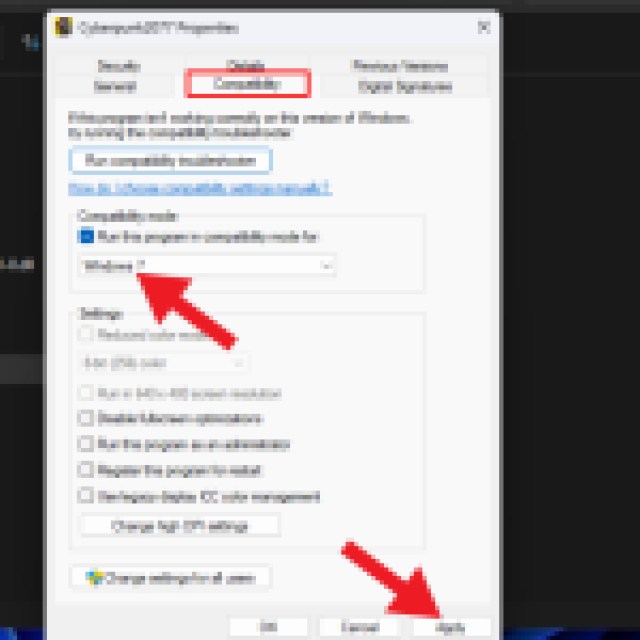
- Click on Properties and open the Compatibility tab.
- Under the Compatibility mode, check the Run this program in compatibility mode for: and select Windows 7 from the dropdown list.
- Click on Apply.
Run the game again from Cyberpunk2077.exe, and you will have fixed the crashing issue. If the issue persists, check compatibility on other windows and try again.
Delete the UserSettings.json File


Try your luck again with this fix, which requires you to delete the graphics settings file for Cybperunk 2077. It will completely reset the game’s graphics settings and run it on default settings.
To do that, navigate to the folder:
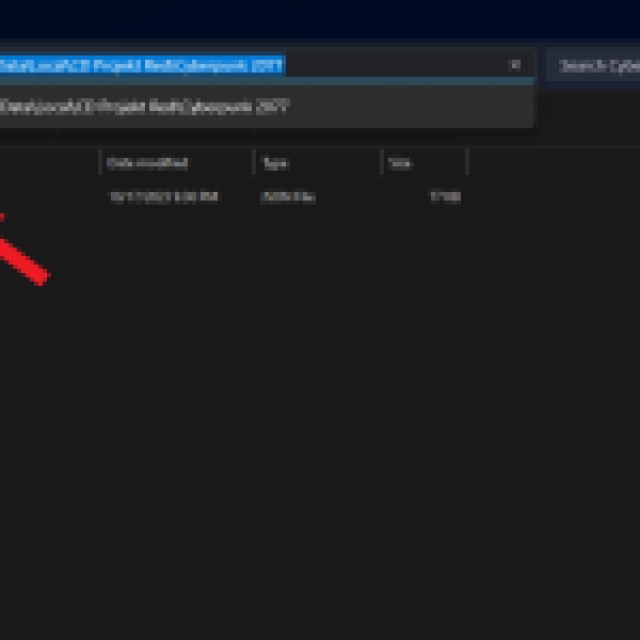
Local Disk C:/Users/[username]/AppData/Local/CD Projekt Red/Cyberpunk 2077
Look for the UserSettings.json file and remove it from there. If you don’t see the AppData folder, click on the View option at the top and hover to Show. Click on Hidden Items to show the AppData folder.
Relaunch the game and hope that the issue has been resolved.
Disable Hyperthreading from BIOS
Another common fix for the Cybperunk 2077 players that seems to work is to completely disable Hyperthreading from BIOS.
You can do that by opening the BIOS settings of your motherboard manufacturer. Restart the system and press the corresponding button to open the BIOS settings. These are different for every motherboard manufacturer, so you will have to Google the button to open the BIOS settings for your motherboard manufacturer.
Search for the Hyperthreading option in the BIOS settings and disable it. If you are unable to find the option, you can search on Google to look for where you will find the Hyperthreading option in the BIOS of your motherboard.
After disabling Hyperthreading, save the changes and restart your computer. After that, launch the game again, and it will start working.
Tried all of the above fixes and still getting the same issue? Unfortunately, there is not much else you can do other than wait for an official patch from CD PROJEKT RED.
If you have run the game successfully, now it is time to check out our guide on the best Tech weapons in Cyberpunk 2077.


Published: Oct 20, 2023 07:22 pm