We start Chapter 3: Aftermath in the bowels of the Black Iron Prison. While in the last chapter, we only had to find a measly three Data Bios, Aftermath is far more of a challenge. Some Data Bios are plot essential or extremely obvious, so it’s unlikely you’ll miss them. Others are well off the beaten path and require some exploration.
Your Data Bios tab will show only 7 Data Bio slots. But this is a red herring. There are eight to discover at this level in The Callisto Protocol. So, let’s get into it.
All Data Bio Locations in Aftermath in The Callisto Protocol
Sgt Eric Jane
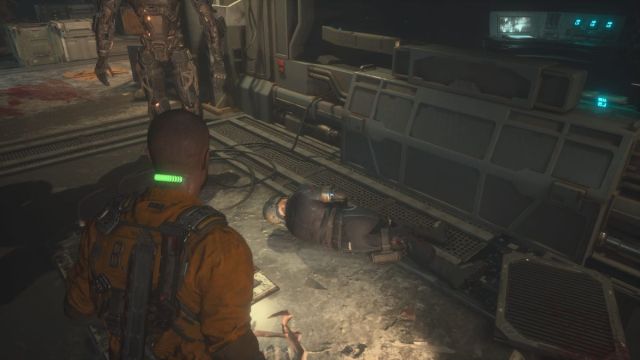
After dropping down from the vents, you’ll immediately see a security robot and a dead guard at his feet. There will also be two biophages in the room. Dispatch the biophages and then approach the laundry door. Elias will tell you to enter. You’ll need a guard’s core. Return to the guard at the robot’s feet and remove the guard’s core. This will net you the first Data Bio of the chapter.
Ofc. Pruitt Matos
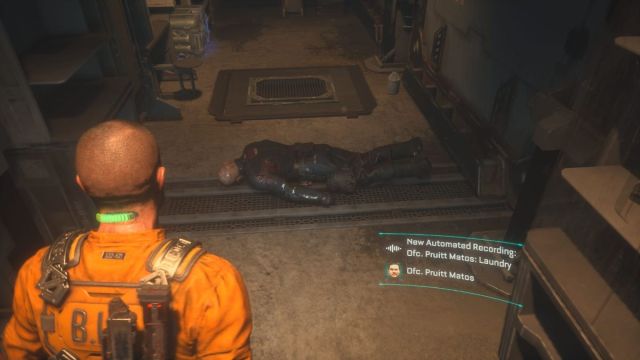
After Sgt. Eric, you’ll head into the access hall leading to the laundry. Move forward until you get a quick time event. Dispatch that biophage. You’ll have two doors you can go through, left or right. Turn right and head through that door. Go down the ramp, turn right, then turn left. You’ll see a short hall with a lit room at the end, bloodstains, and scattered clothes. Enter the lit room. On the ground will be a guard. Harvest his implant.
Duncan Cole
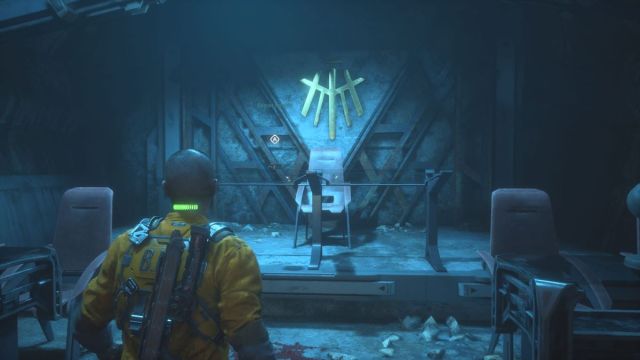
Return to the main room, where you had the quick time event by going back up the ramp. From here, we want to enter B3 Maintenance. You’ll see the room’s designation by the sign painted above the door. Go down the ramp and then cut the wires that are keeping the door locked. Pass through the now-unlocked door and travel through the vent on your right in this newly accessible room. You’ll drop down into a room made of rock. Follow the tunnel until you have to drop down. Do so. Immediately turn around. There will be a cracked open blast door. Shimmy through, and you’ll enter a very Illuminati-esque room. Approach the desk at the far end of the room.
Dr. Ewan Hayes
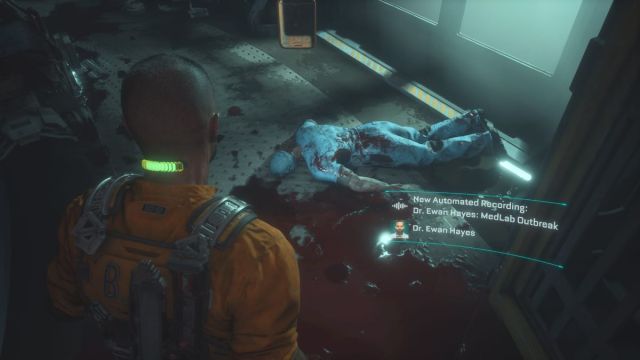
After ascending from the secret room, you’ll be in a room with access to supply. Don’t go through this door. Instead, backtrack a bit and head to Maintenance B414. Go down the stairs and turn right. You’ll be accosted. Defeat him, then head towards Access Hall B433. Turn right to Medical Ward C101. Pull open the doors. There on the floor will be a doctor in scrubs. Harvest their implant.
Ofc. Dachs Symmons
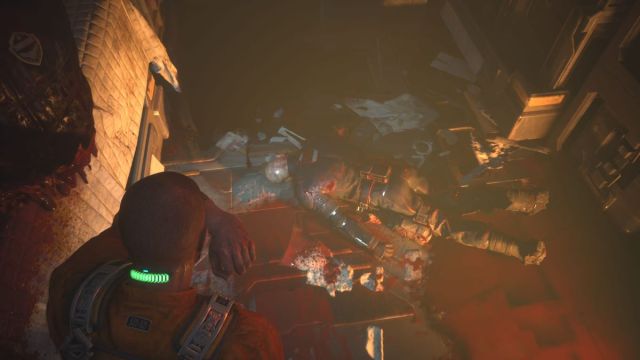
This one is impossible to miss if you’re playing through the level. You’ll go through the medical ward and then through a series of short access halls until Jacob is forced to open doors by hand. Doing so will reveal a very Outlast room, full of hanging guards. Immediately in front of you will be Officer Dachs Symmons on the loot. Harvest his implant.
Ofc. Kerry Brown
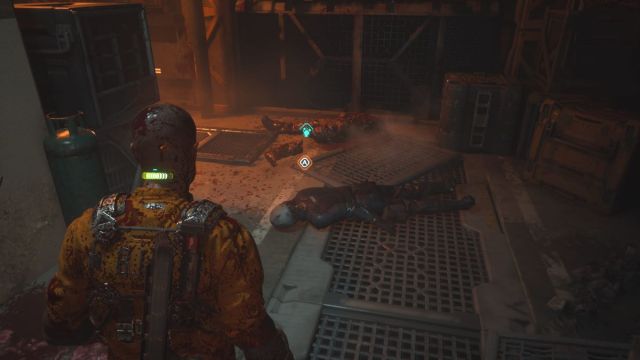
After the elevator fiasco, you’ll wind up in the basement. You’ll need to progress through the level normally until just after you’re bitten by the weird long-neck biophage and jump your normal biophage. You’ll know you’ve gotten to the right area when you see a giant fan on the wall, lit up in orange.
Once you see the fan, turn right, working past some shelves until the room opens up. On the far wall, you’ll see a giant D4 painted in white. Plus, some crates on fire. Head towards them. You’ll very quickly find some smears of blood on the floor where a body was dragged. Follow the blood trail, and you’ll find a guard’s body just behind the fan we saw in the other room. Oh, and there will be a little jump scare for you too.
Harvest her implant, and don’t forget to round the corner to find another chest. I don’t know about you, but I was low on supplies by this point.
Tadhg Song
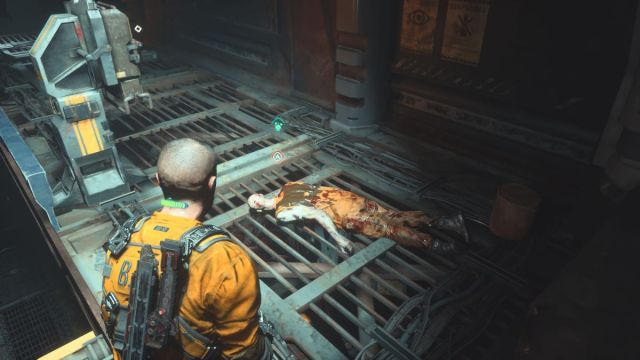
This is our last obvious collectible for the level! Once you reconvene with Elias, you’ll be sent across on a Gondola to the SHU. You’ll be attacked by two acid spitters and one normal biophage as you cross. But once you dispatch them, you’ll want to turn left. There will be two large iron crates beside you which you can climb. Do so, and you’ll see a prisoner on the platform. Harvest their implant to get Tadhg Song’s Data Bio.
Dani Nakamura
Now, here’s the actual final Data Bio. Once you’ve reactivated the elevators, head towards the cells. There will be three biophages you have to fight here: one acid spitter, one armored, and one that’s on fire. Dispatch all three, then interact with the panel on the right-hand side of the platform. This will lift the metal caging around one of the prison cells and trigger a cut scene.
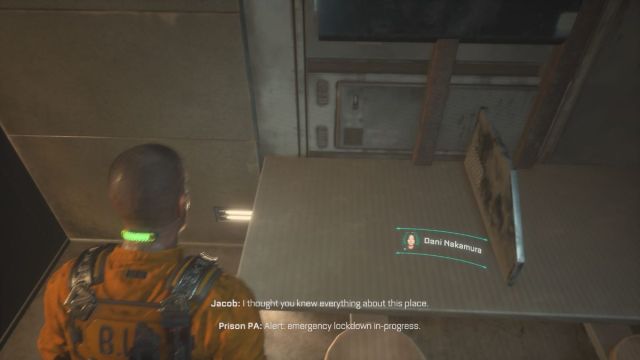
Once the cut scene is over, you’ll be in the prison cell. Immediately turn around to the prisoner’s desk and interact with the item. This will net you the Data Bio of a familiar face that has remained hidden up until now. If you want to read their information, you’ll have to go to the Persons of Interest tab instead of Aftermath in the Data Bios tab to read their information.
That’s all eight collectibles for this chapter. Hope you found them all!


Published: Dec 2, 2022 02:19 pm