Warhammer 40K: Darktide has been in great shape for the past year thanks to the excellent support from Fatshark. While the developers do their best to add new features, especially based on feedback, players can still mod many things in Darktide for an even better experience. Whether you want to view a scoreboard, health bars for enemies, or spawn enemies in the meat grinder, the modding community has something for everyone. Here is how you can install mods in Warhammer 40K Darktide if you’re playing on PC.
Installing Mods for Warhammer 40K Darktide
Installing mods in Darktide isn’t as simple as dragging and dropping the mod files into the installation folder initially, but it’s still a mostly painless process. To install mods in Darktide, you need the following:
- Free Nexus Mods account: To download mod files and mod framework
- Darktide Mod Loader: Basic tool that allows players to enable and disable mods
- Darktide Mod Framework: An open-source framework for mods
Fatshark doesn’t officially support mods but they are still allowed. If something goes wrong with a mod, you’ll either have to disable the mod or contact the mod author for help as Fatshark hasn’t provided any mod tools.
We’ll go over how you can set up Darktide to work with mods step by step.
Darktide Mod Loader
First, we need the Darktide Mod Loader, which allows players to enable, and disable mods in-game.
- Once you have a Nexus Mods account, head over to the following link.
- Download the zip file and extract it in Darktide’s installation folder. The generic Steam location will be something like this:
\SteamLibrary\steamapps\common\Warhammer 40,000 DARKTIDE
- Once extracted, run the “toggle_darktide_mods.bat” file
- After that, you’ll get a confirmation that “Darktide is now patched to load mods“
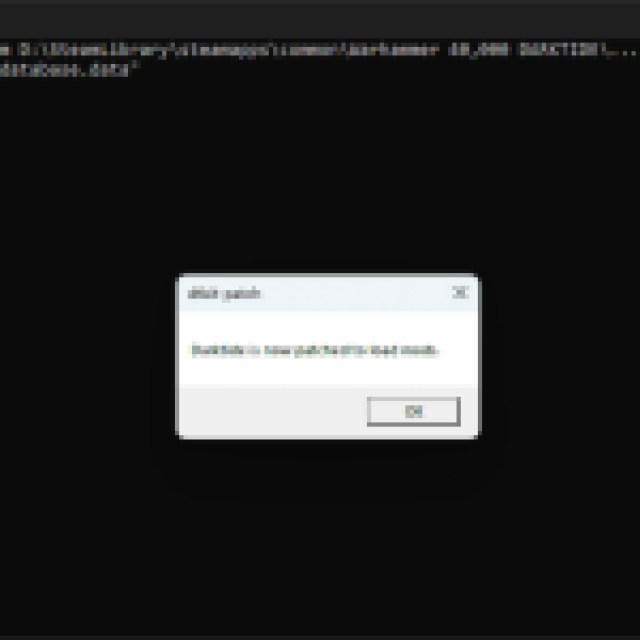

The bat file has to be run every time the game releases an update or hotfix since those disable mods.
Darktide Mod Framework
Now, we can install the Mod Framework which will add a mod manager in-game. This is pretty simple to set up as well.
- Head over to the following link, and download the zip file for the Darktide Mod Framework
- Now, head over to the following location
\SteamLibrary\steamapps\common\Warhammer 40,000 DARKTIDE\mods
- Extract the framework file here, and you’ll now see a “dmf” folder in the mods folder.
- Without any mods installed, this is what the “mods” folder inside the Darktide installation folder should look like
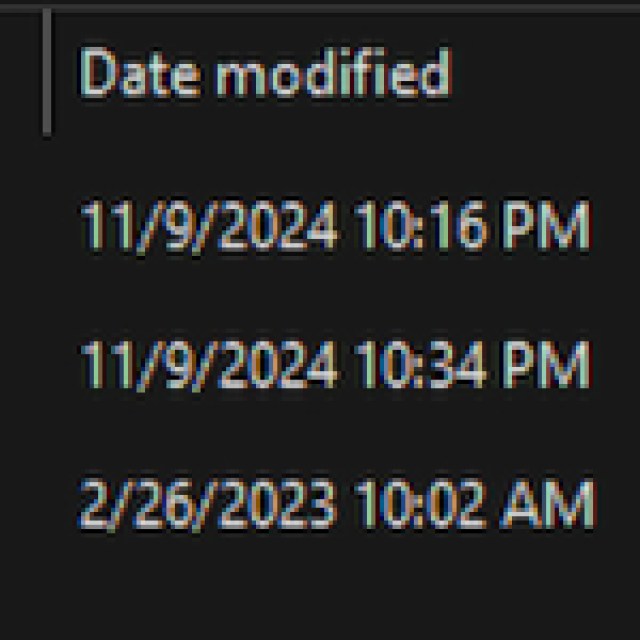

After that, we’re set, and we can finally install mods in Darktide.
Mod Installation in Darktide
With the Mod Loader and Mod Framework installed. We can start adding mods to Darktide. As an example, we’re going to add the “Scoreboard” mod created by Grasmann in Darktide.
- First, head over to the mod link, and download the zip file
- Extract the zip file, and copy the “scoreboard” folder into the mods folder
- It should look like this:


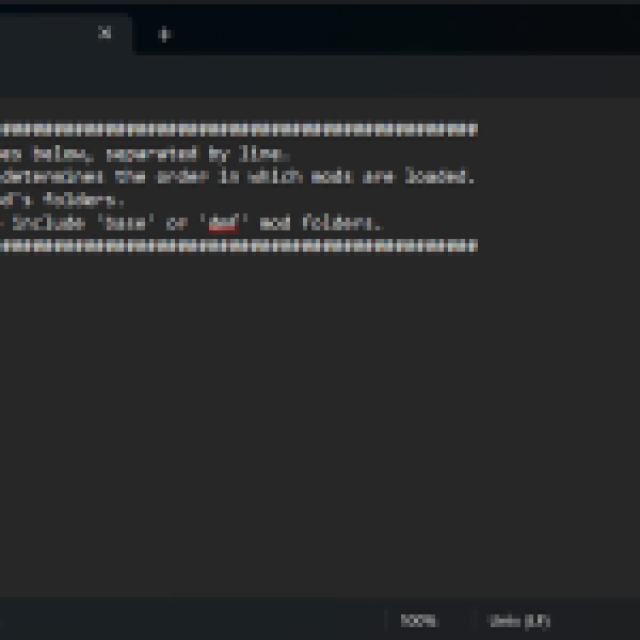
- Next, open the “mod_load_order.txt” file using a text editor like Notepad or Notepad++
- Here, type the mod’s name exactly as it is in the folder. So in our case, that’s “scoreboard“. Here is what the text file should look like.
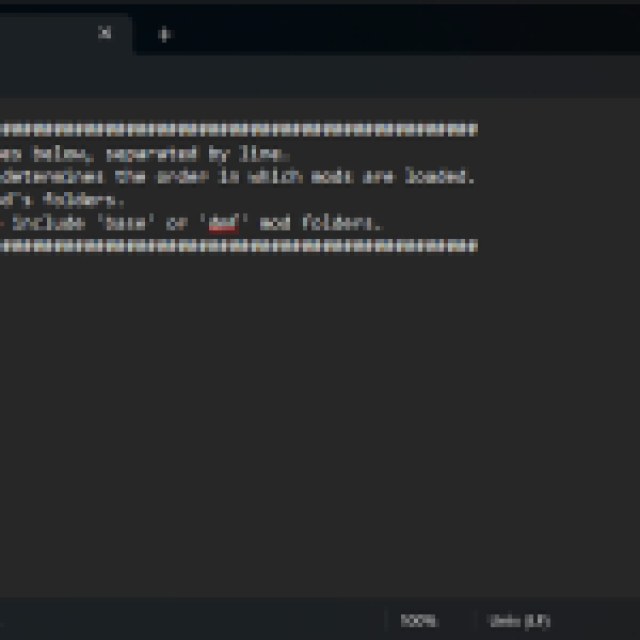

- Save the file, and exit out.
- Launch Warhammer 40K Darktide
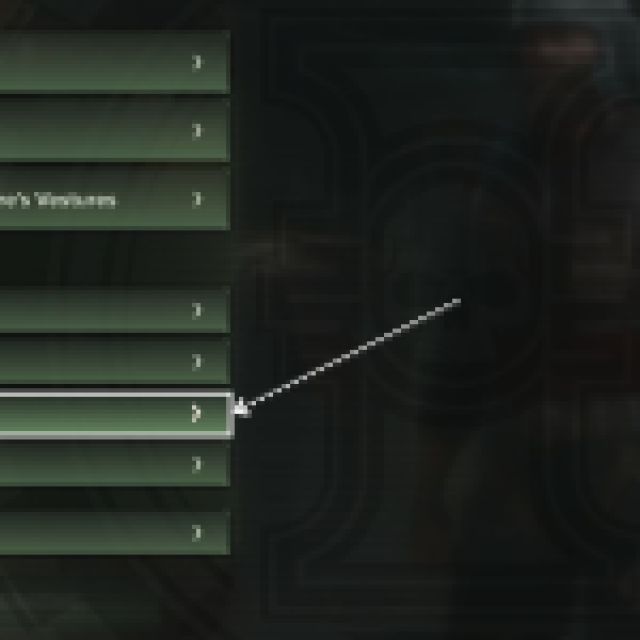
- In the Pause menu, you’ll now see an option called “Mod Options“
- Opening that will allow you to toggle different mods and adjust individual settings of the mod itself.


Adding Additional Mods
If you want to add another mod, follow the same process as above and add the mod title in the next line of the “mod_load_order.txt” file.
For example, after you have copied the folder for “Healthbars” mod by raindish into the mods folder, add the mod to the list in the “mod_load_order.txt” file as shown below.

To disable a mod, you can simply remove the line from the text file. It’s that easy.
That covers everything you need to know about modding Darktide. It’s a fairly simple process, and there are tons of mods to check out that can add quality-of-life features, new systems, and visual overhauls.

